MiniMic - Miniaturised Microphone for ARRI Alexa Mini, Plus & XT Cameras
MiniMic - Miniaturised Microphone for ARRI Alexa Mini, Plus & XT Cameras
Couldn't load pickup availability
OVERVIEW:
ARRI Alexa Mini and XT are amazing cameras that deliver great image with modular capabilities. But they lack proper audio input.
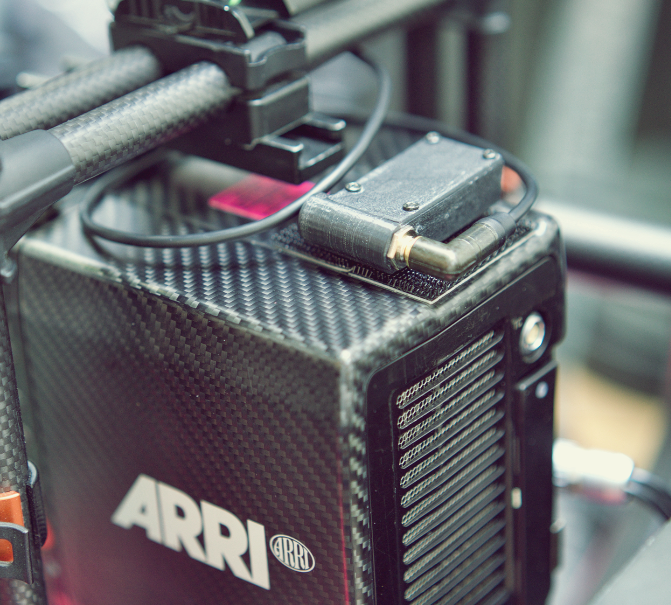
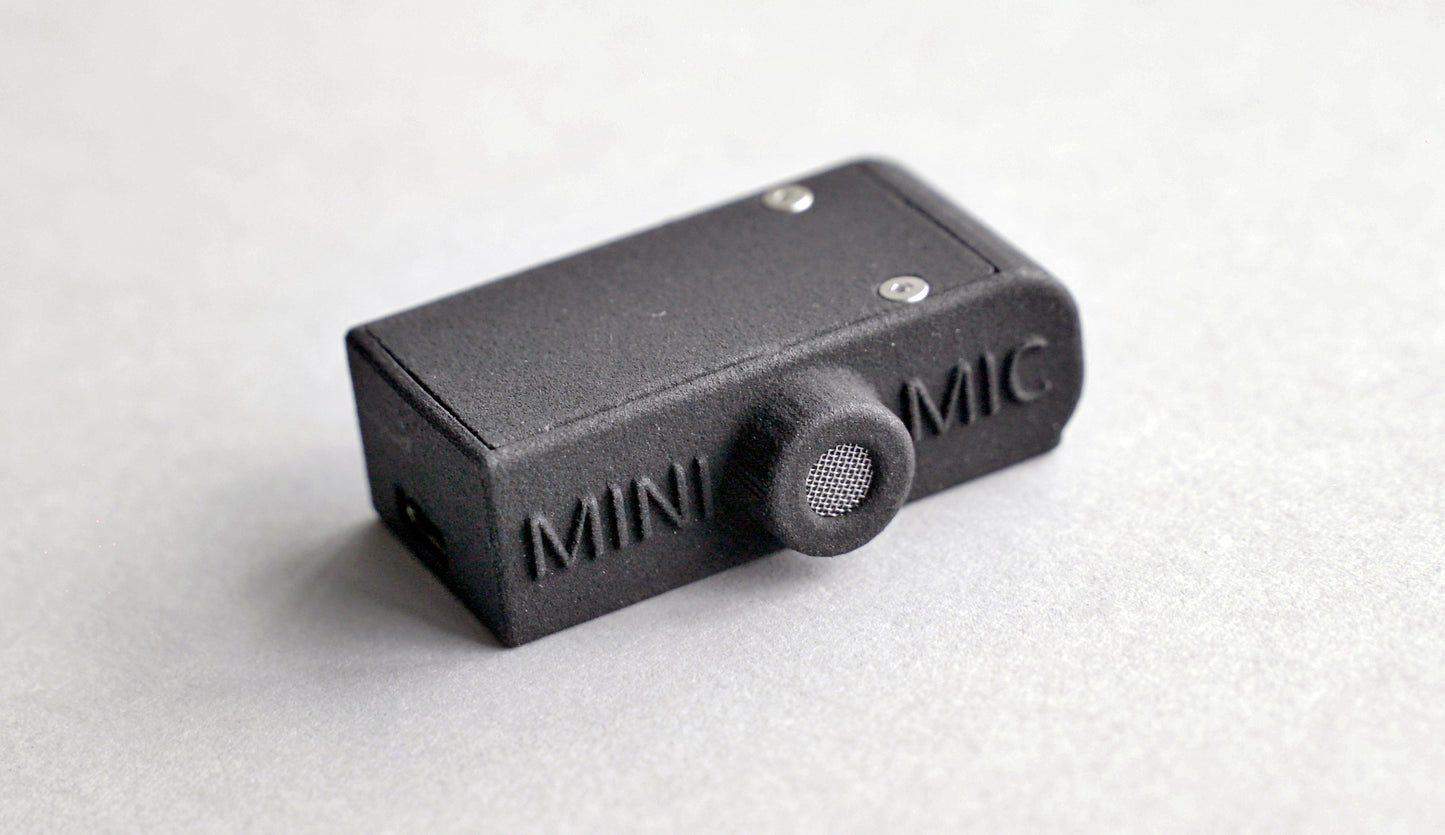
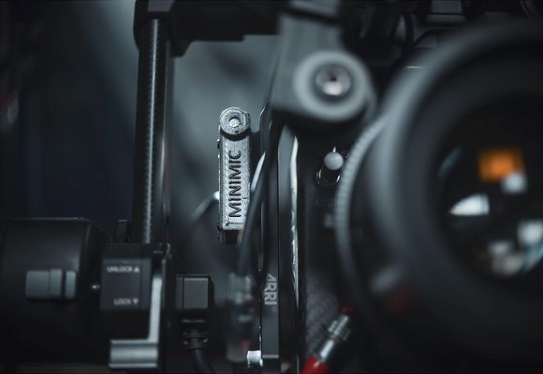
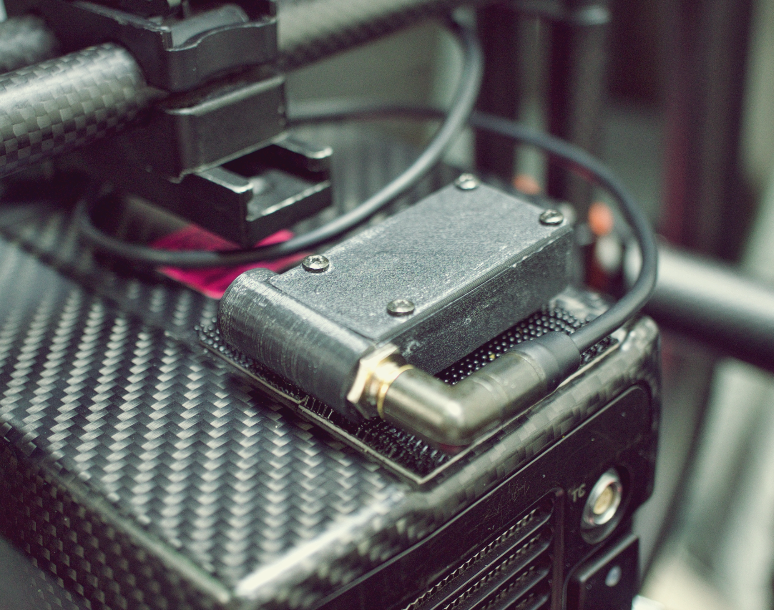
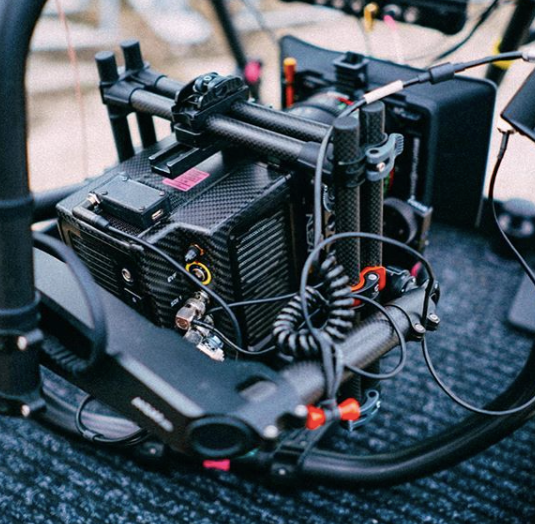
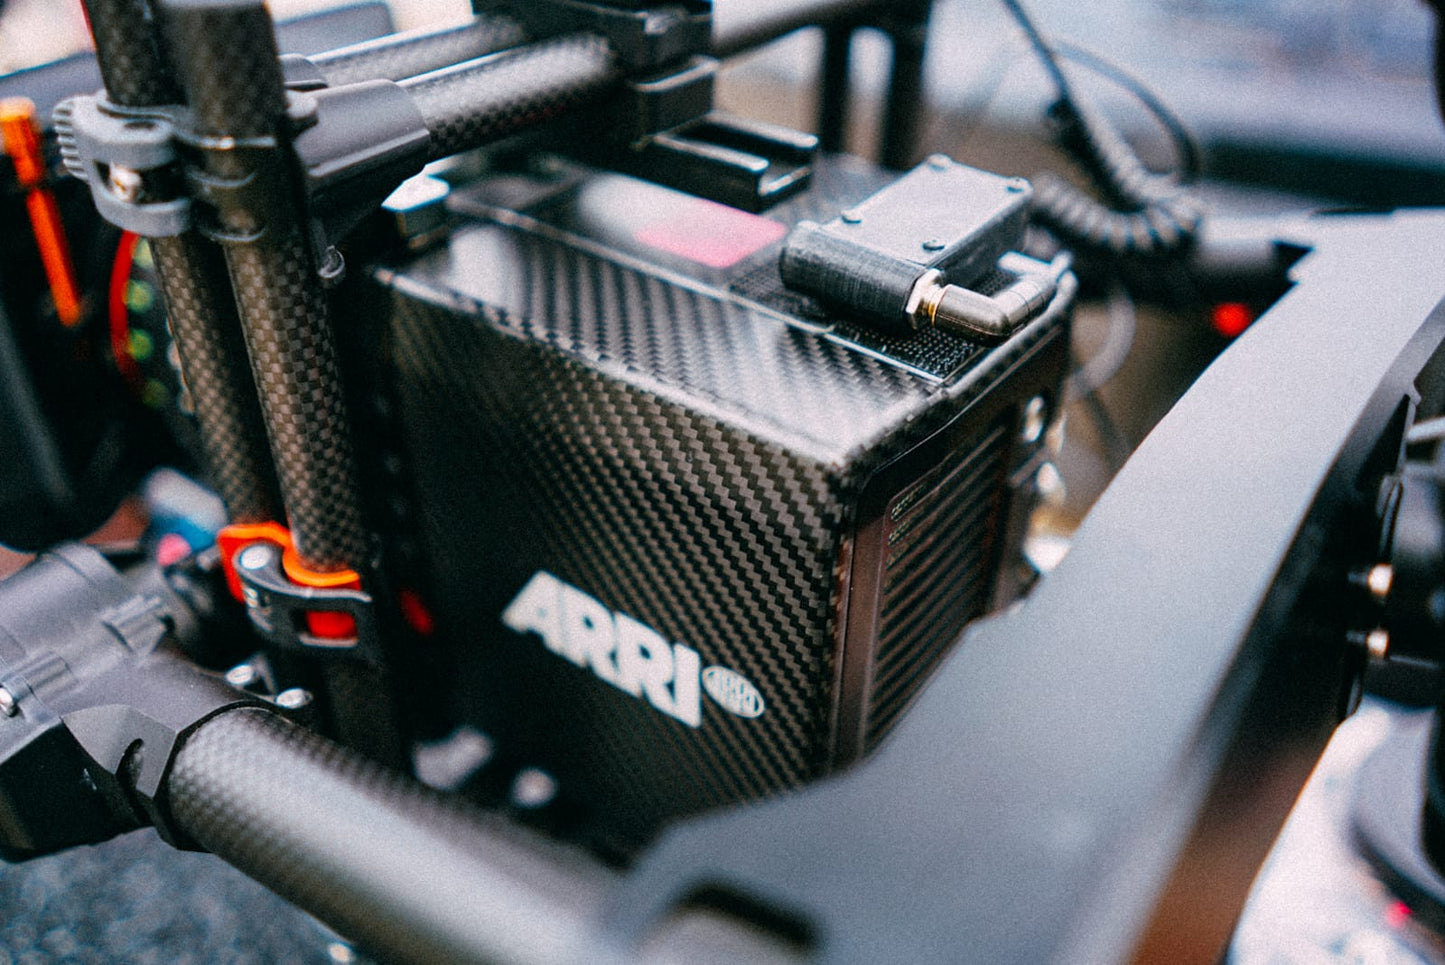
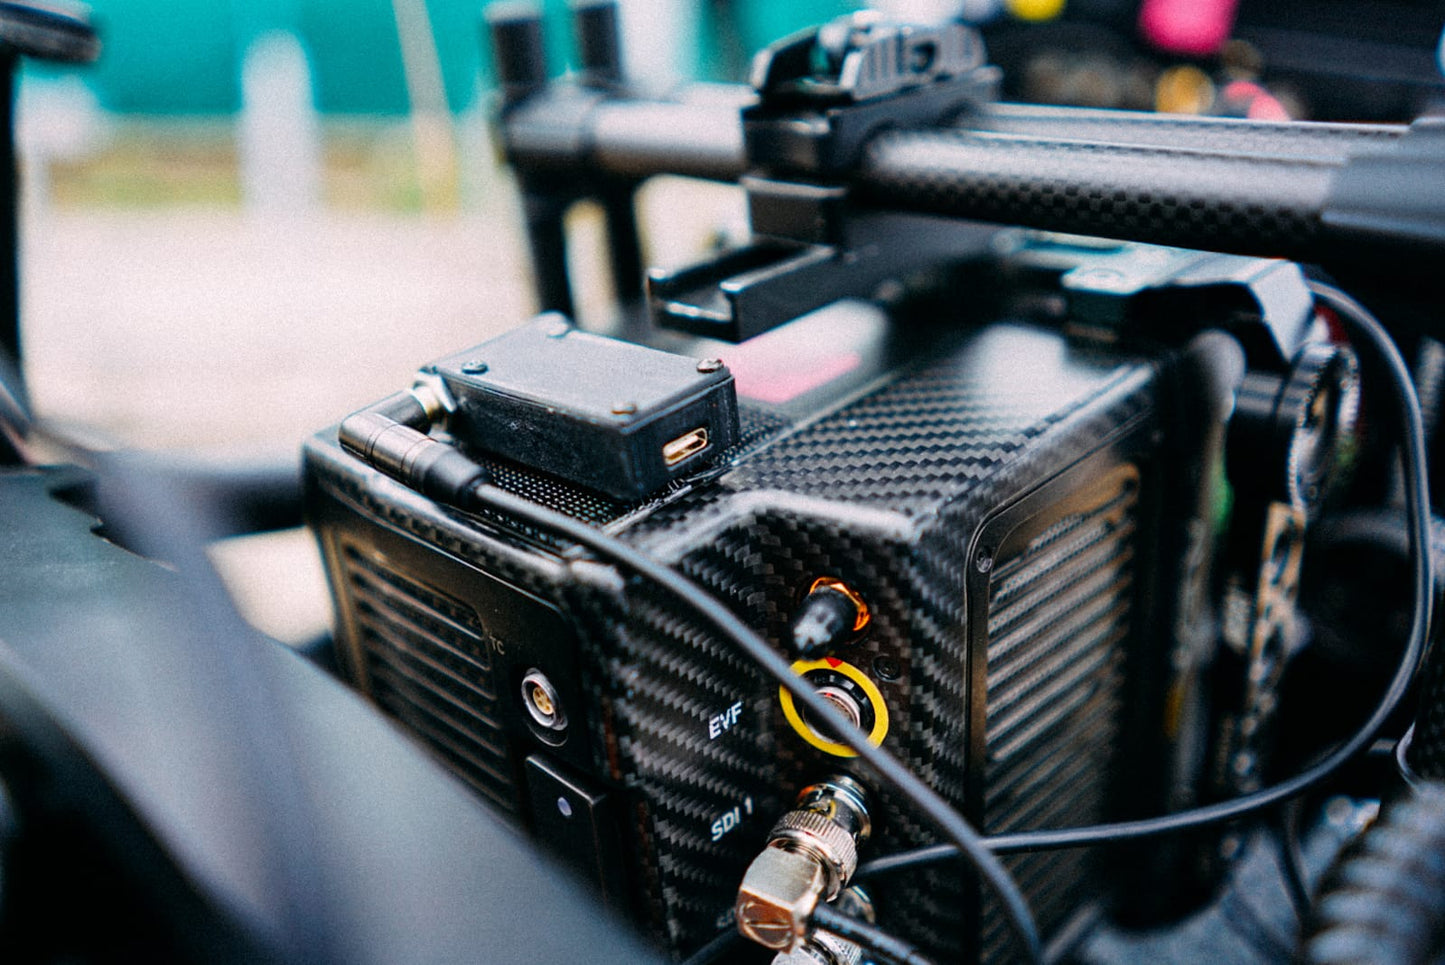
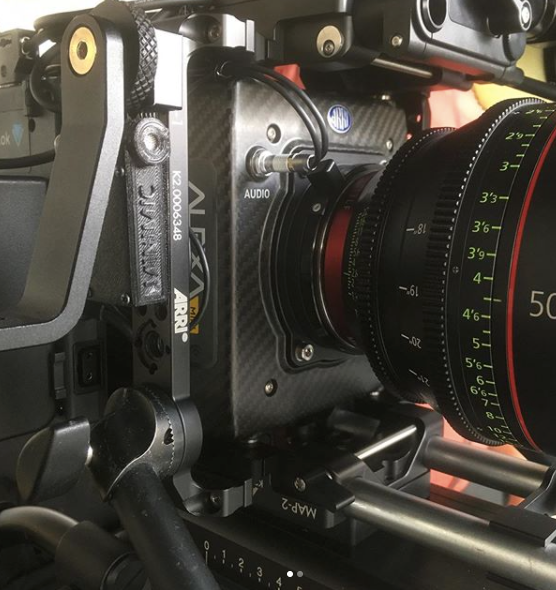
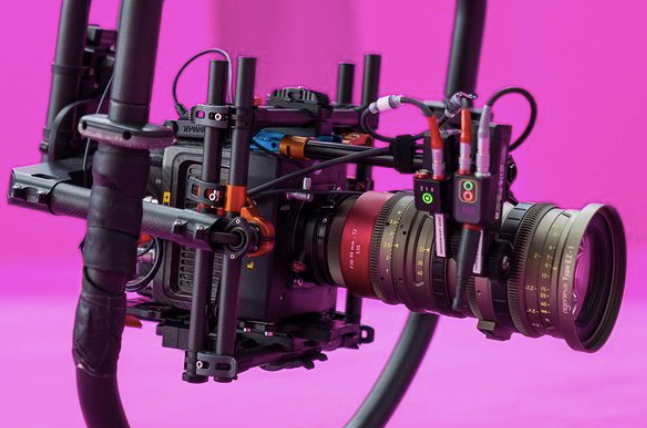
MiniMic adds reference sound to ARRI Alexa Mini and Alexa XT cameras, it is self powered and the operation is extremely simplified: it powers up automatically when the minijack is plugged in. Due to its reduced weight MiniMic can be easily installed when the camera is already rigged on an EasyRig or a Movi.
Alongside providing sound for the sync, MiniMic is ideal when playback is needed on set (e.g. music videos with choreography).
The internal omnidirectional capsule allows MiniMic to be rigged wherever is convenient for the operator; the clapperboard's sound would always be captured.
WHAT IT IS FOR (or "reinventing the wheel"):
• Music videos: recording reference sound it’s ideal when watching playbacks
• No timecode sync: whenever timecode nor slate are not available it will be possible to perform a waveform based sync with Premiere Auto Sync
• B_Rolls: it's always useful delivering cutaways with sound
TECH SPECS:
Input:
• Internal omnidirectional capsule
Output:
• LINE level output on stereo minijack
Power:
• Internal Li-Po battery
• More than 70 hours of continuous operation
• 20 minutes circa of charging time via USB-C
Dimensions:
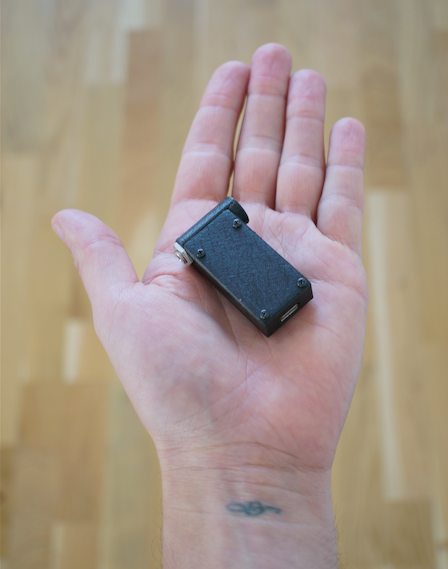
• 53 x 25 x 13 mm
Weight:
• 20 grams
PACKAGE INCLUDES:
Lemo audio cable
USB-C Charging cable
Short strip of Velcro
Setting the Camera Audio Recording
1. Choose MENU > Recording > Audio recording.
2. Set audio recording on.
3. Set control mode of both channels to Auto.
Meters are now showing the current level of channel signal.
Power
1. Plug the 3.5mm minijack and MiniMic will turns automatically ON
2. Unplug the minijack to turn MiniMic OFF and save battery
Note: the internal battery lasts for about 70 hours; it is recommended to unplug MiniMic at the end of your shooting day.
Charging
1. Plug the provided USB-C cable
2. RED light on the side shows that the unity is charging 3. When the light turns BLUE your unit is fully charged
Share
